 Emily Jung Miller
Making the Moon Bowls
Posted on · Categories Sculpture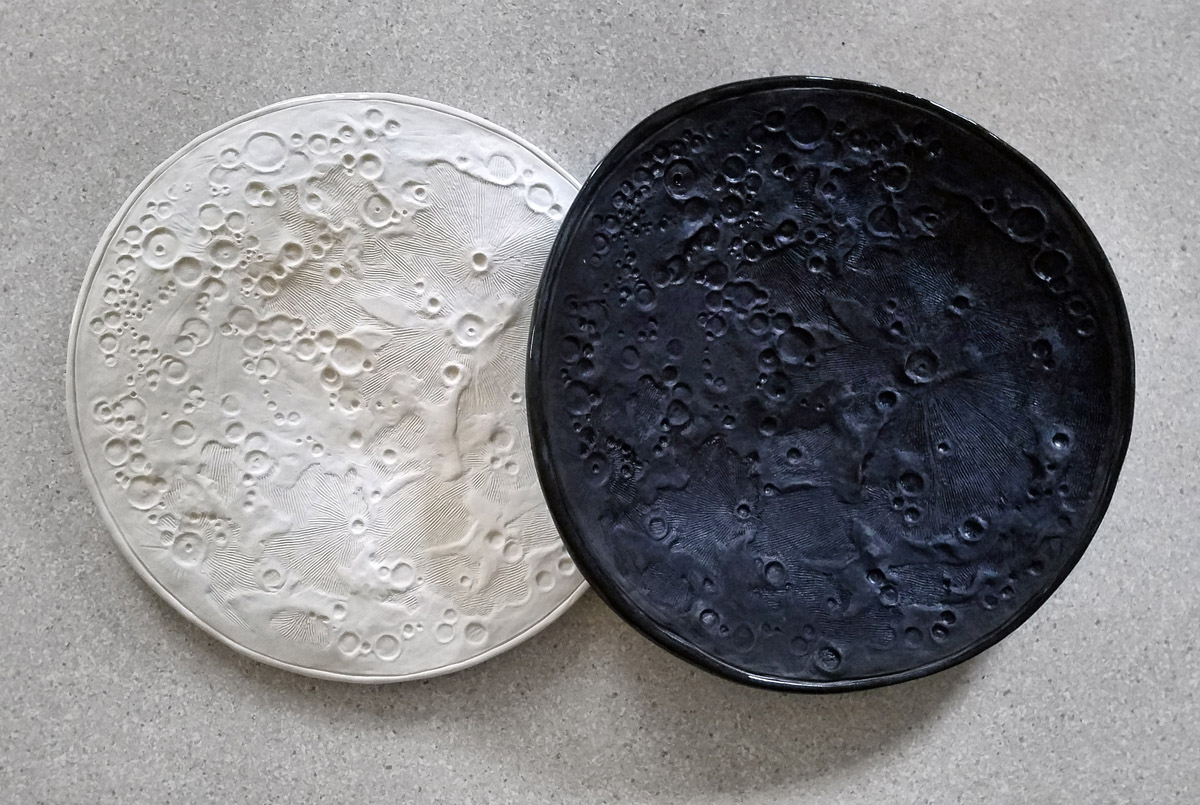
The Moon Bowls project started ten weeks ago, at the very beginning of November 2017. I had been thinking about a theme for my upcoming ceramics exhibit, and a different perspective on my passion for exploring unknown environments in art. Although most of my artwork has focused on the ocean, I find the beauty, mystery, and science of outer space as compelling as the deep sea.
Step 1: Concept
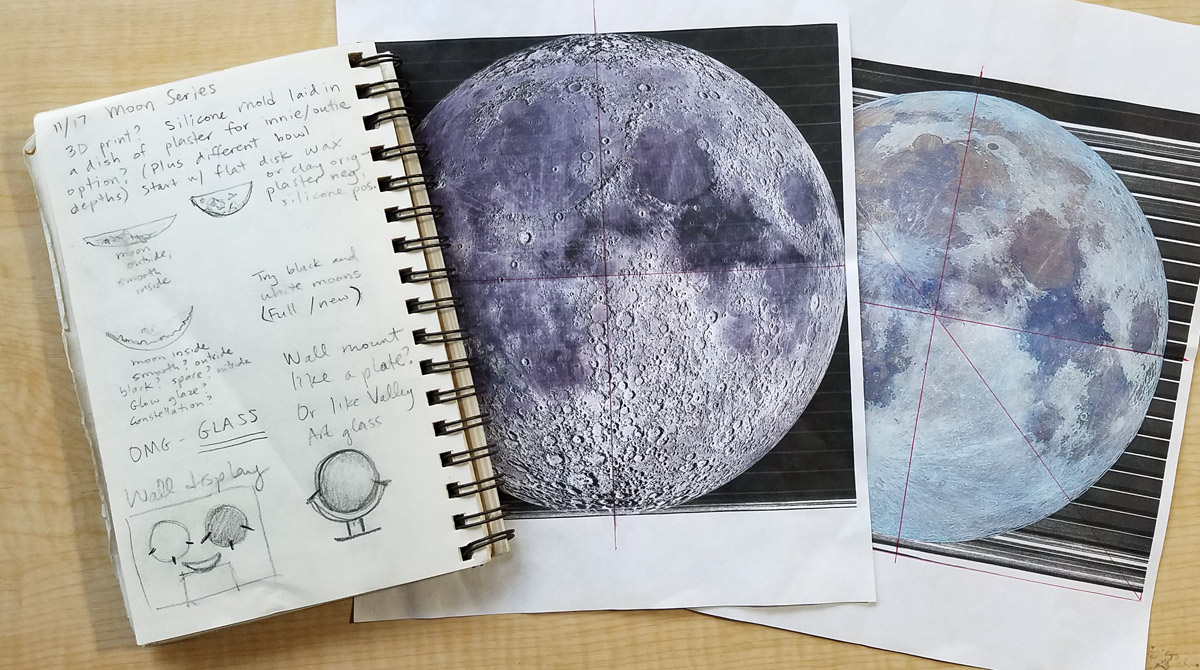 Concept sketches and reference photos
I came up with the idea to sculpt an accurate bas-relief model of the near side of our Moon. The major lunar mountains, craters and seas are all included. I worked from a combination of reference photos taken by an Earth-based telescope and the Lunar Reconnaissance Orbiter, which offered different perspectives on elevation, light and shadow.
Step 2: Clay “Original” Model
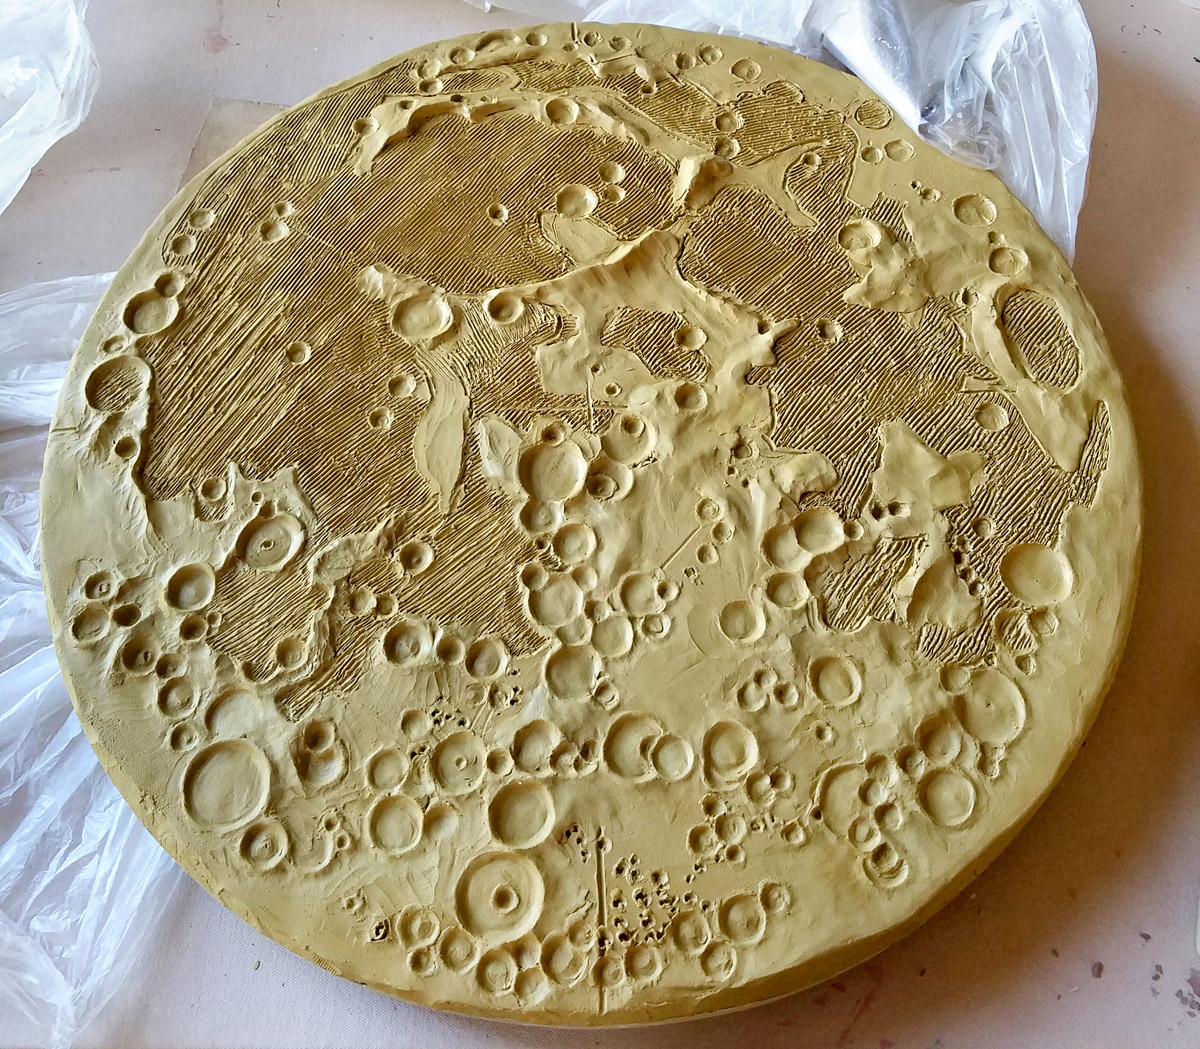
My concept drawings used multiples to create different pairs of opposites, so I decided to make a re-usable mold rather than a single carved object. The clay “original” model was carved from a flat 22″ diameter disk of yellow clay over the course of 3 or 4 days. I used the yellow clay because we had plenty lying around the studio! The medium tone of the clay also made it easy to judge depth and details while carving.
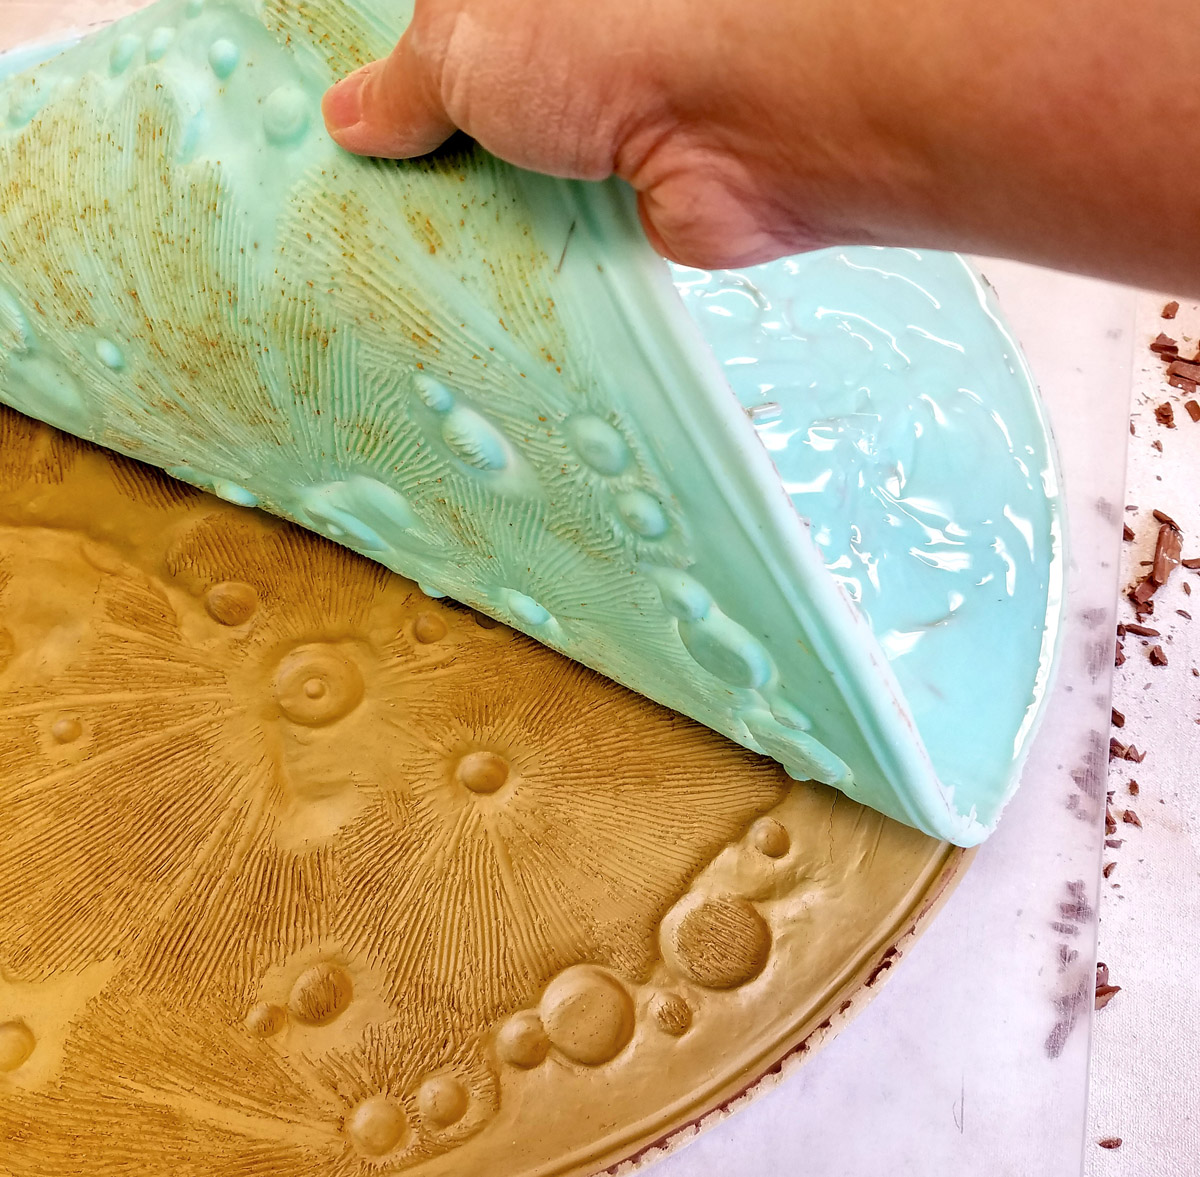
Step 3: Silicone Negative
Once the clay model was finished, I covered it with several thin coats of flexible silicone rubber. This created a negative-impression silicone mat that I can re-use to make multiple moons in different materials.
Step 4: Final Clay Forms
My concept was to present a pair of opposites: full moon / dark moon and convex / concave. I rolled flat slabs of clay onto the silicone mold, then draped the soft clay over a shallow dish form to dry. I chose white porcelain for the full moon convex bowl, and a dark chocolate brown clay for the dark moon concave bowl.

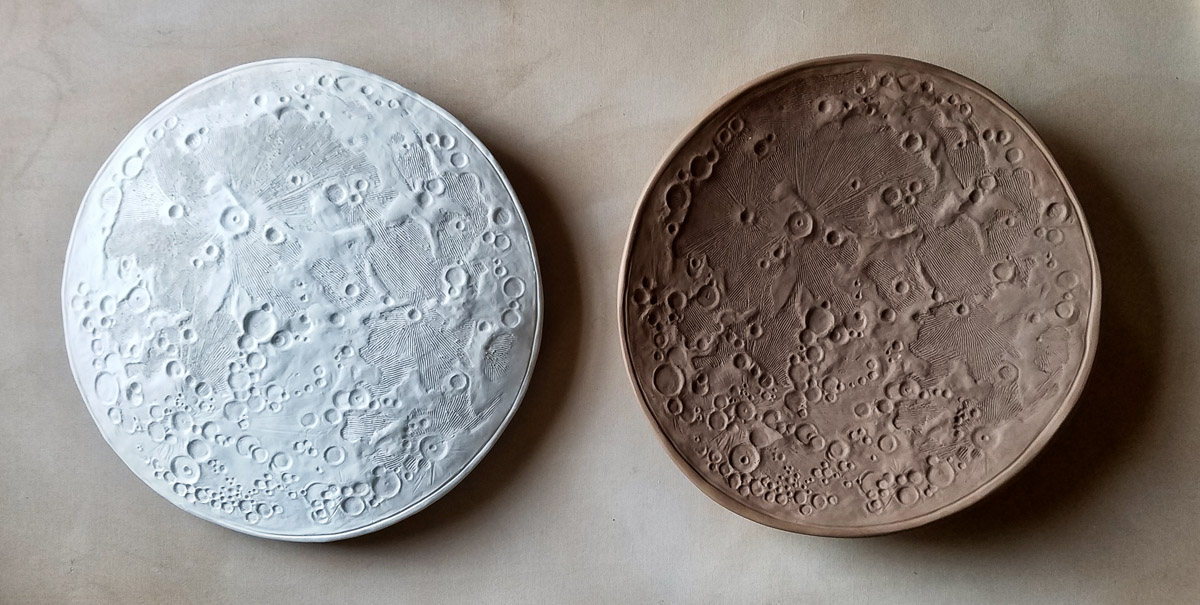
Step 5: Firing
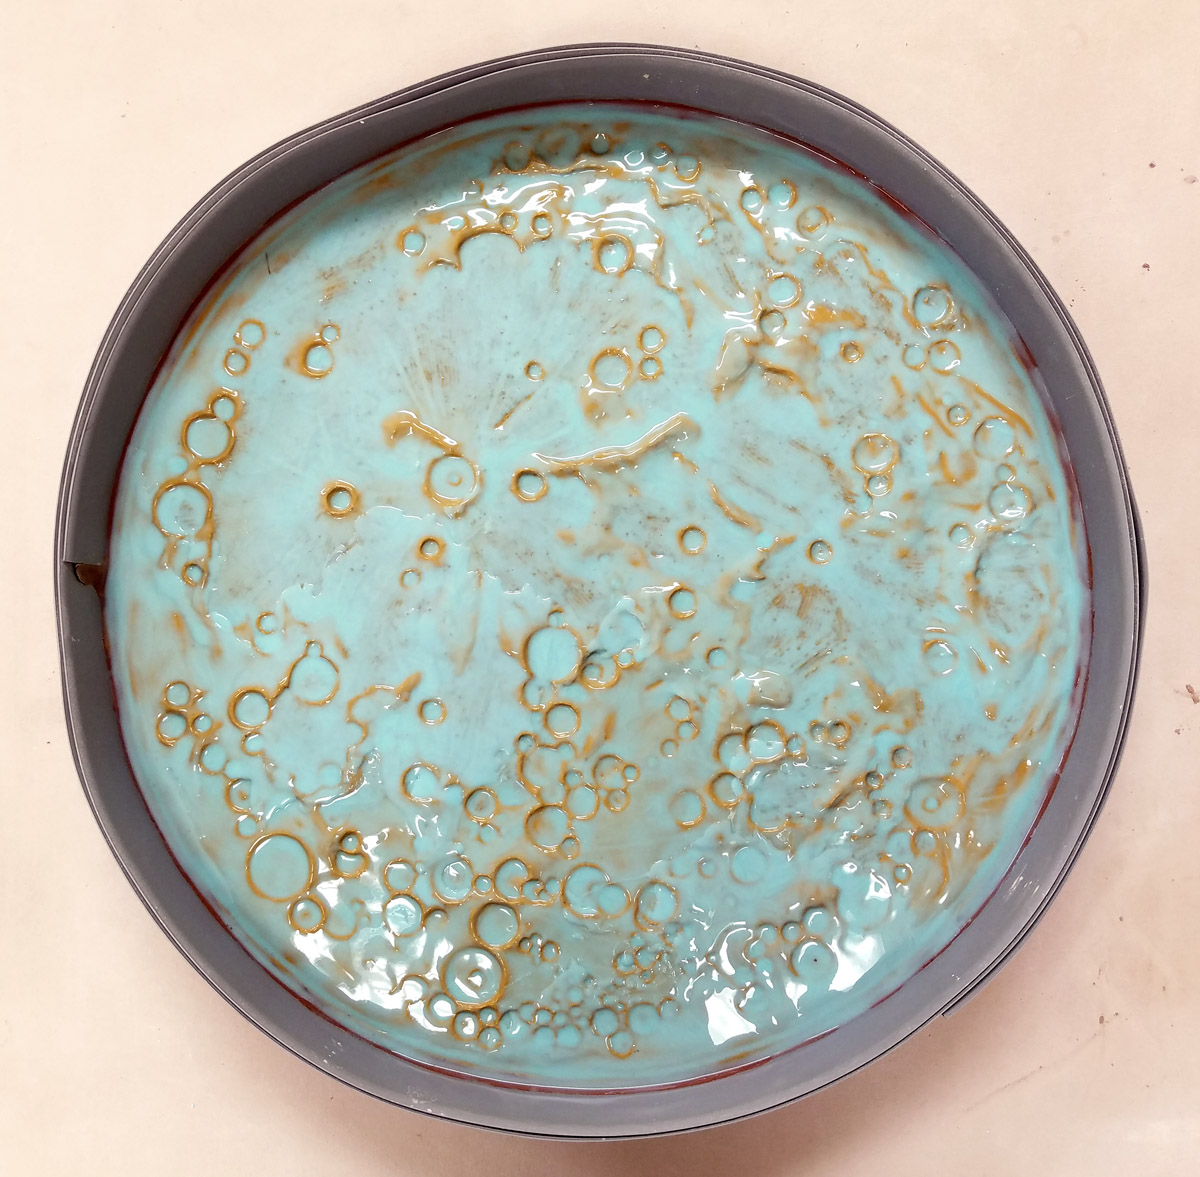
Below are the two moons after their first (bisque) firing, ready to be glazed and re-fired at a higher temperature:
Opening the kiln after a glaze firing is always exciting. During the firing, glazes can react to each other in unexpected ways, ambient temperature and humidity affects how the kiln heats up, and objects can come out looking quite different than planned. This time, all my glazes behaved properly, but my Full Moon got melted flat and became a Moon Plate!
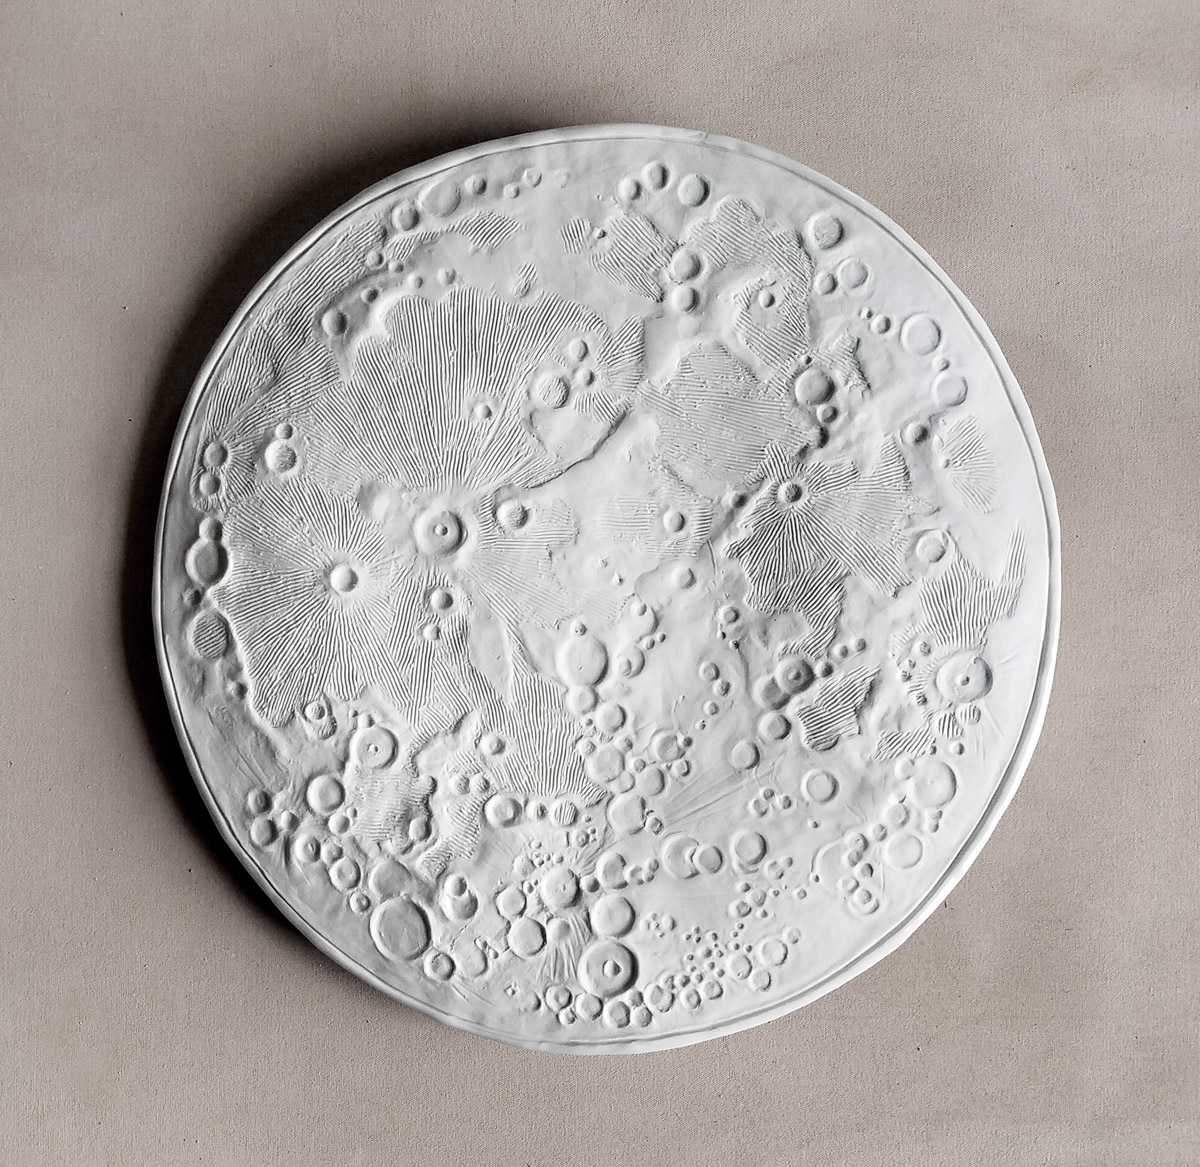
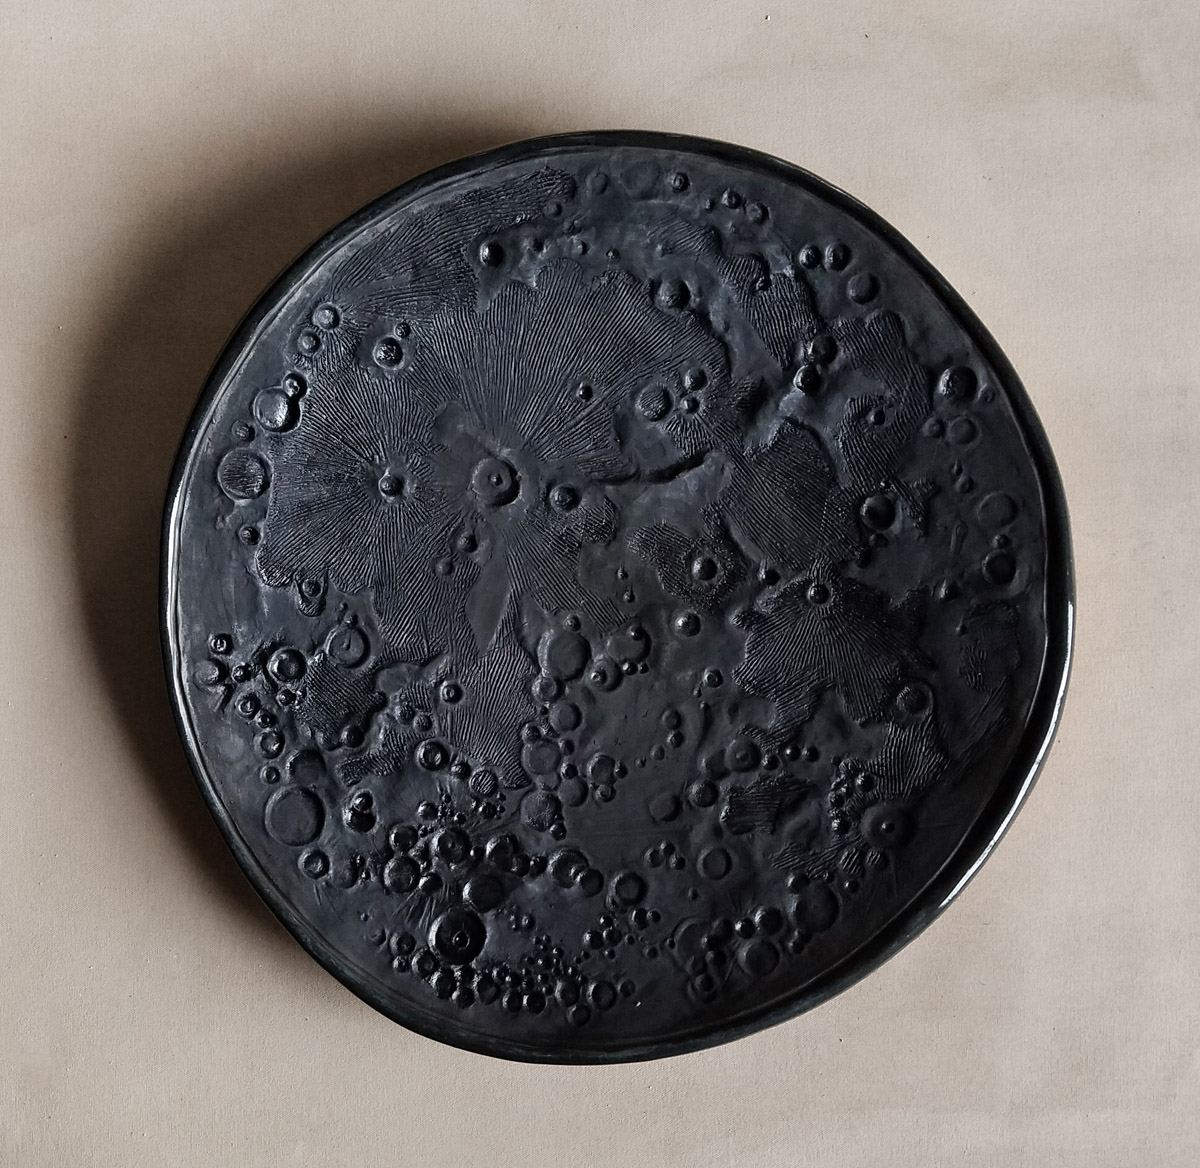
The contrasts between light and darkness / smooth and rough are recurring themes in my work. The lunar surface is textured and rough: like many of my sculptures, it is made to be touched. The full moon is unglazed, raw white porcelain, and the dark moon has a wash of blue-black cobalt carbonate over dark clay. The reverse side of each moon is finished with a smooth, glossy glaze.
See the Moons
This pair of Moons is on display through March 21, 2018 in my “Night Sea” ceramics exhibit in Portland. The Moon Bowls are central to the exhibit’s theme of the cycles and rhythms in the natural world. Click here to read more about the exhibit.
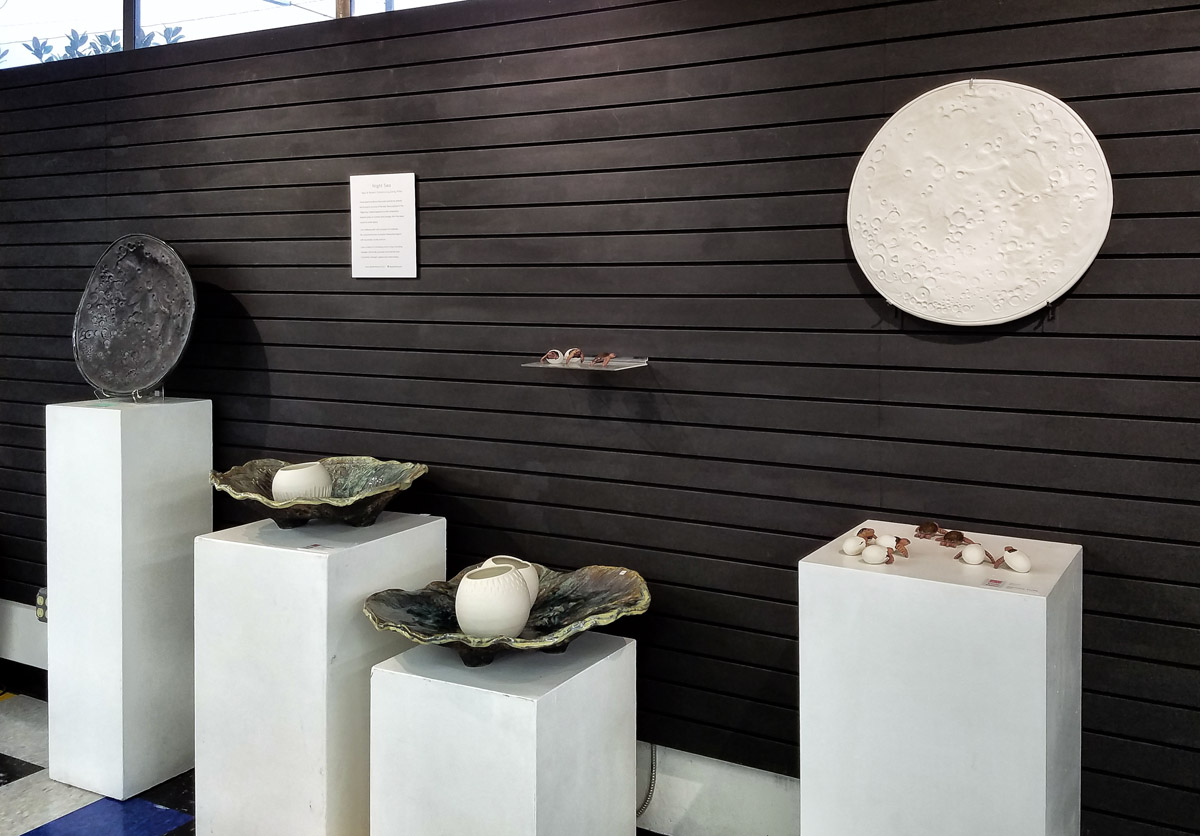 Moon Bowls on display at “Night Sea” ceramics exhibit, Portland, OR
What’s Next?
This project has only just begun! Using my silicone mold, I intend to make more moons out of different materials like cast glass and handmade paper, and experiment with deeper bowl shapes closer to a hemisphere.
Want one?
Pre-orders are available here in 3 sizes!
Final astronomy bonus, courtesy of Wikipedia:

I love the fanciful scientific names for the lunar “seas” (which are actually flat regions of dark basalt where lava oozed to the surface, pulled by Earth’s gravity up towards the near side of the moon). The Sea of Nectar and the Sea of Clouds are two of my favorites. I also love that the Seas of Tranquility and Crises are right next to each other – separated by the Marsh of Sleep.


These are simply amazing – Inspiring and thought provoking.
Thanks so much Jean! It’s been a really fun project, one year later I’m still working on new iterations 🙂